Composite test sample dream machine
20th Feb 2024 | In News | By Mike Richardson
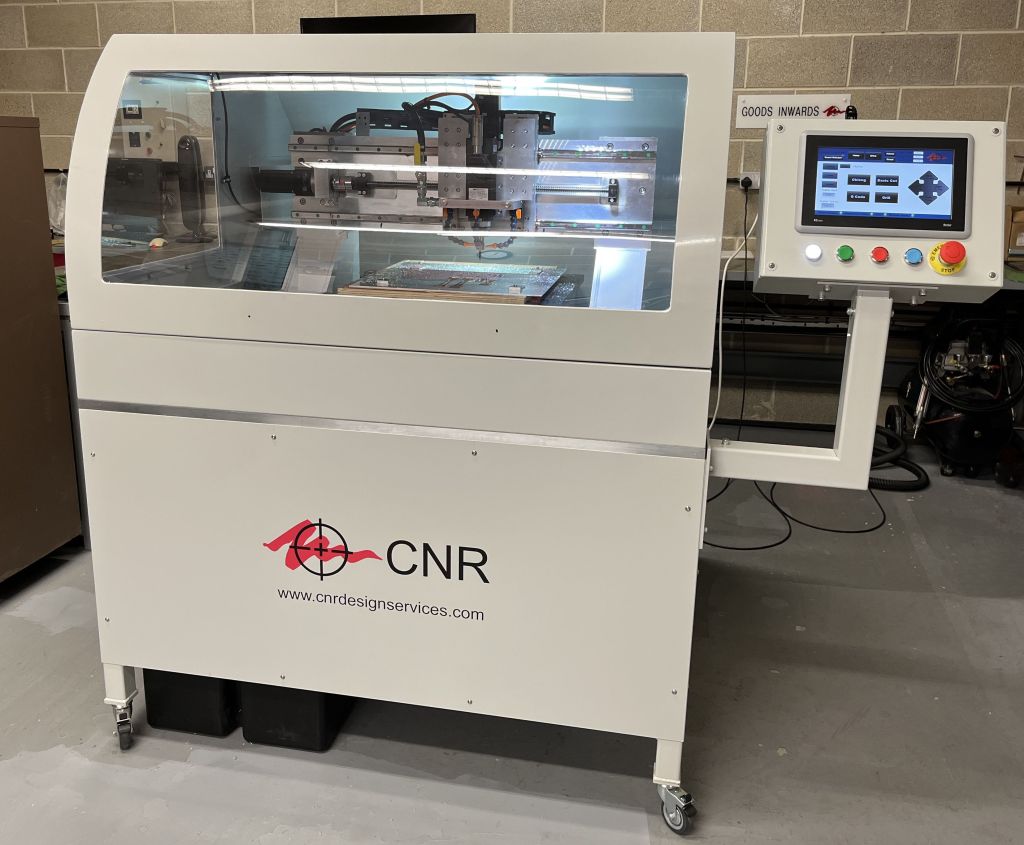
Peter Knight, technology manager at Midlands Aerospace Alliance (MAA) describes how a grant from the MAA Aerospace UP programme has helped specialist machine provider, CNR Services realise a long-held dream to improve composite test sample manufacture.
Fibre reinforced composites have revolutionised the aerospace industry due to their exceptional properties, making them a preferred material in many aerospace applications.
The high strength-to-weight ratio and improved resistance to corrosion and fatigue make them suitable for wing and fuselage components, empennage and control surfaces, cabin interiors, engine components like fan blades, drone structures, radomes, satellites, and many more applications.
Like all materials used in aerospace, but perhaps even more so due to their non-homogeneous and anisotropic nature, composites need to be rigorously tested to ensure that they are up to the job. And for critical applications, the test complexity increases in order to understand the material’s production consistency, mechanical properties and durability under actual service conditions.
Testing of composites requires different shapes and sizes of test specimens, all demanding a high level of dimensional accuracy. The traditional method of preparation is to first use a plate saw to produce rectangular blanks. This is then followed by profiling on one or more separate machines as required by the relevant test standard (e.g. ISO, ASTM), and according to the particular test being performed.
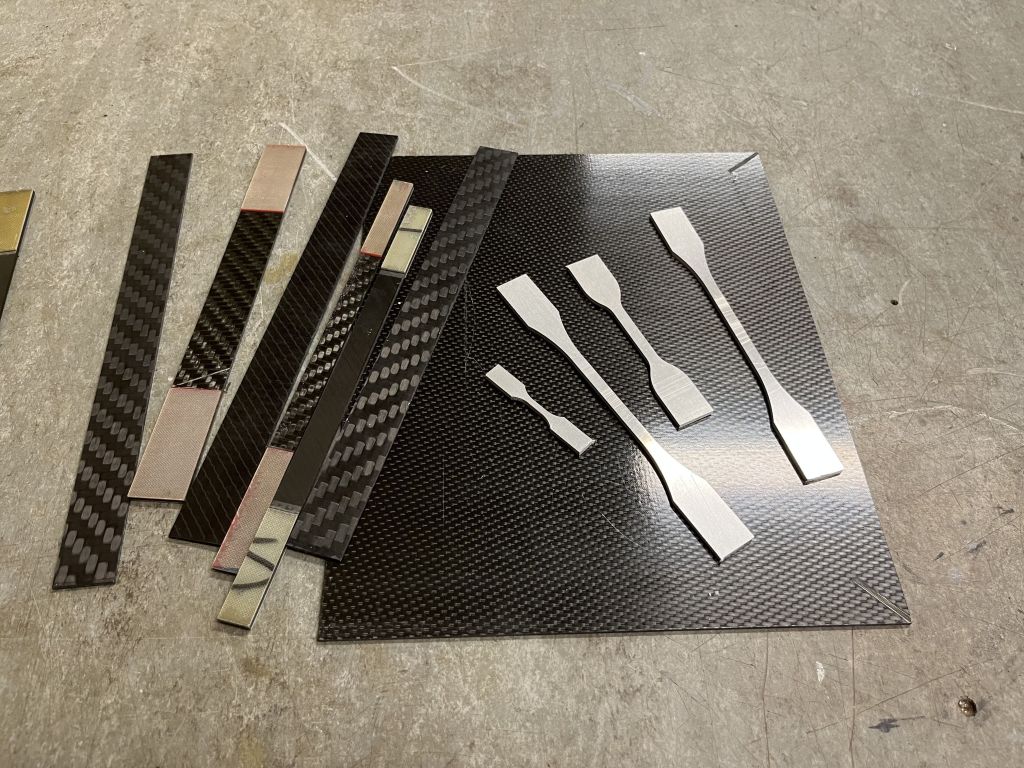
Nottingham-based special purpose machine provider, CNR had seen firsthand some of the challenges faced by composite test sample manufacturers as a result of maintaining the equipment used by others.
Chris Reckless, managing director of CNR had long held the view that there must be a better way of making specimens, and a grant from the Aerospace – Unlocking Potential (Aerospace UP) Programme was the catalyst to turn his innovative ideas into reality. This was a £20 million, ERDF-supported R&D initiative (2020-2023) which was delivered jointly by the University of Nottingham and the Midlands Aerospace Alliance, helping the aerospace supply chain in the Midlands unlock its innovation potential. Under this project CNR were able to set about designing a special purpose one-shot composite test specimen router from the ground up.
Drawing on over 35 years of experience developing unique, high precision aerospace test rigs and special purpose machines, CNR set about designing a new fully working prototype machine for this essential and expanding market. The prototype would be suitable for validating and demonstrating unique design features, such as speed and ease of operation, high accuracy, precision build qualities and an ergonomic operator interface.
Axes of power
The fundamental requirement was for a 3-axis drive system controlling the position of a high speed router. The first challenge was that the proprietary slide and motor systems would either not offer sufficient accuracy, not drive all axes simultaneously, or would not be available within the lead-times required. Consequently, CNR decided to manufacture its own highly accurate 3-axis drive system using precision ground steel slides, motors with epicyclic gearboxes and precision ball screws. As it turned out, this arrangement proved to be extremely successful, providing feed rates up to 100mm/s with a cutting accuracy of 0.05mm. The drive also automatically compensates for tool wear in order to maintain accuracy.
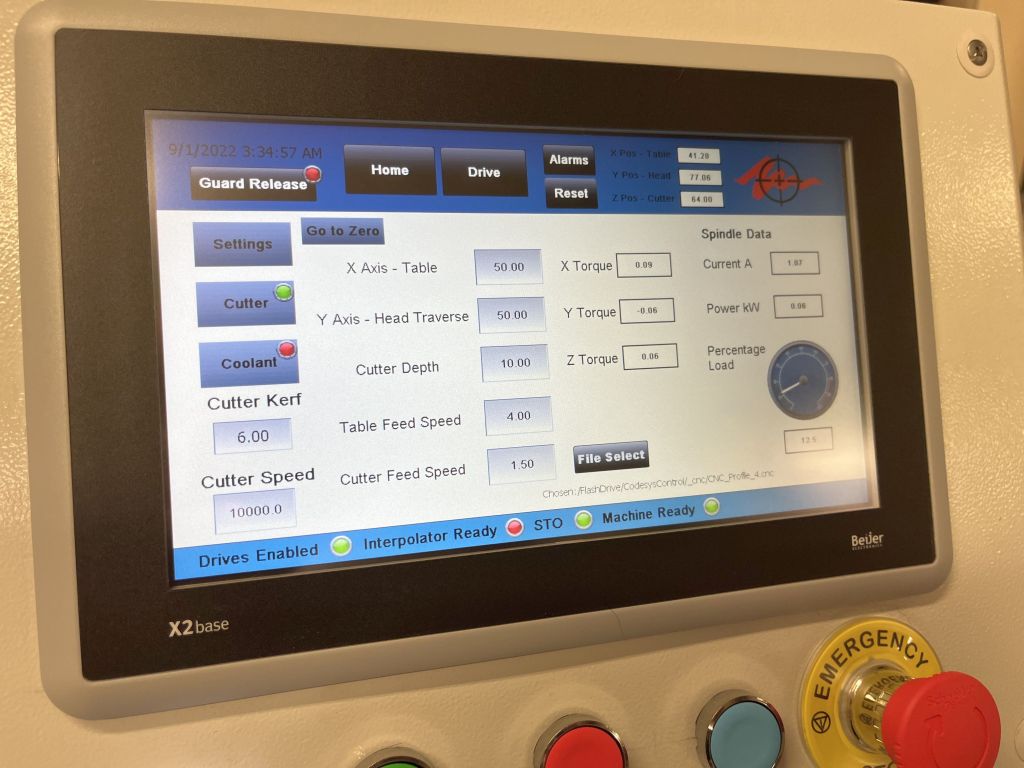
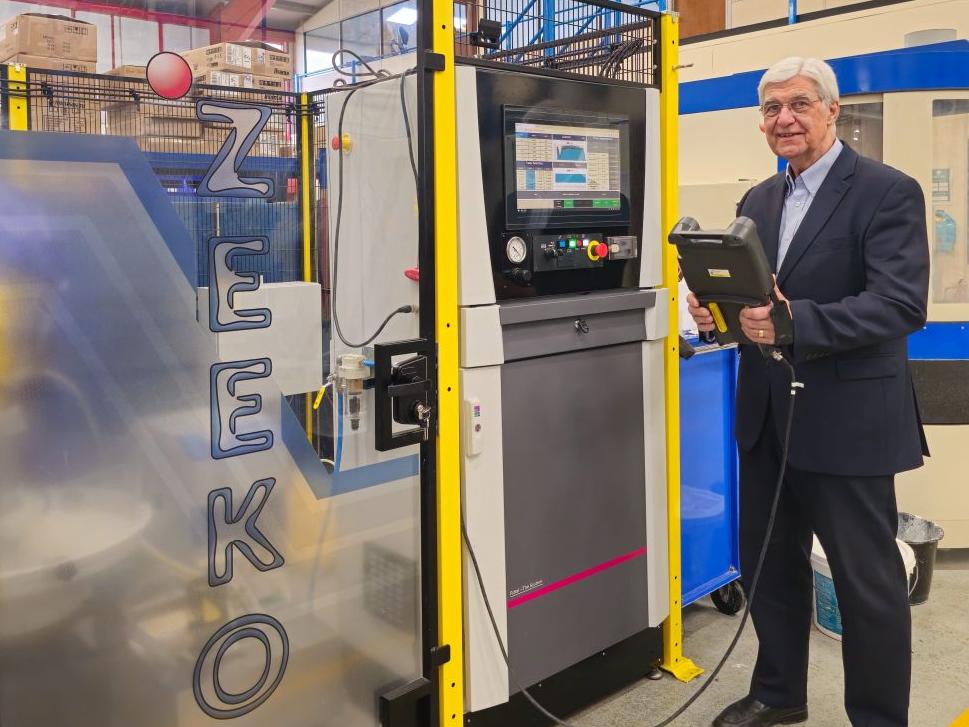
The CSPM500 Composite Router has a work table which will accommodate composite panels up to 500mm square, and up to 50mm thick. The toolholder comes with a range of collets for different sizes of cutter, with coolant provided by an integrated cooling and filtration system. The CNR vision was for not just one-shot manufacture, but also a fully automated one-touch control system which would produce finished, profiled samples at the touch of a button. For this the team developed a dedicated control system with a fully customisable human machine interface, which allows sample geometries from simple shapes to complex curves to be generated and stored in a library.
Whilst the system can be manually programmed, it also allows the import of standard DXF and G code files making it extremely versatile. The software also monitors the machine health, giving early warning of any developing problems. The CSPM500 is fully contained within a purpose built enclosure with a tilting windowed cover providing easy access to the work table. The 1,300mm x 1,400mm footprint means that the machine is compact and easily incorporated into a production environment.
For CNR the Aerospace UP grant was very important as it gave the company a springboard from which to develop a new revenue stream. In the past, all of the special purpose machines designed by the company have been under contract with specific customers, and hence the IP was transferred at the conclusion of each project.
“The Aerospace UP project was significant for us because it helped fund the first of our machines for which we actually own the design and manufacturing rights,” states Reckless. “Developing our own product portfolio gives us repeat business and allows us to generate revenue to support our research and development. In that way we can continually hone our skills, and be sure that we offer our customers leading edge solutions to their engineering problems.”
Consider a free digital subscription
If you find this article informative, consider subscribing digitally to Aerospace Manufacturing for free. Keep up to date with the latest industry news in your inbox as well as being the first to receive our magazine in digital form.


