Third Dimension launches two metrology solutions at Control 2017
5th Apr 2017 | In News | By Michael Tyrrell
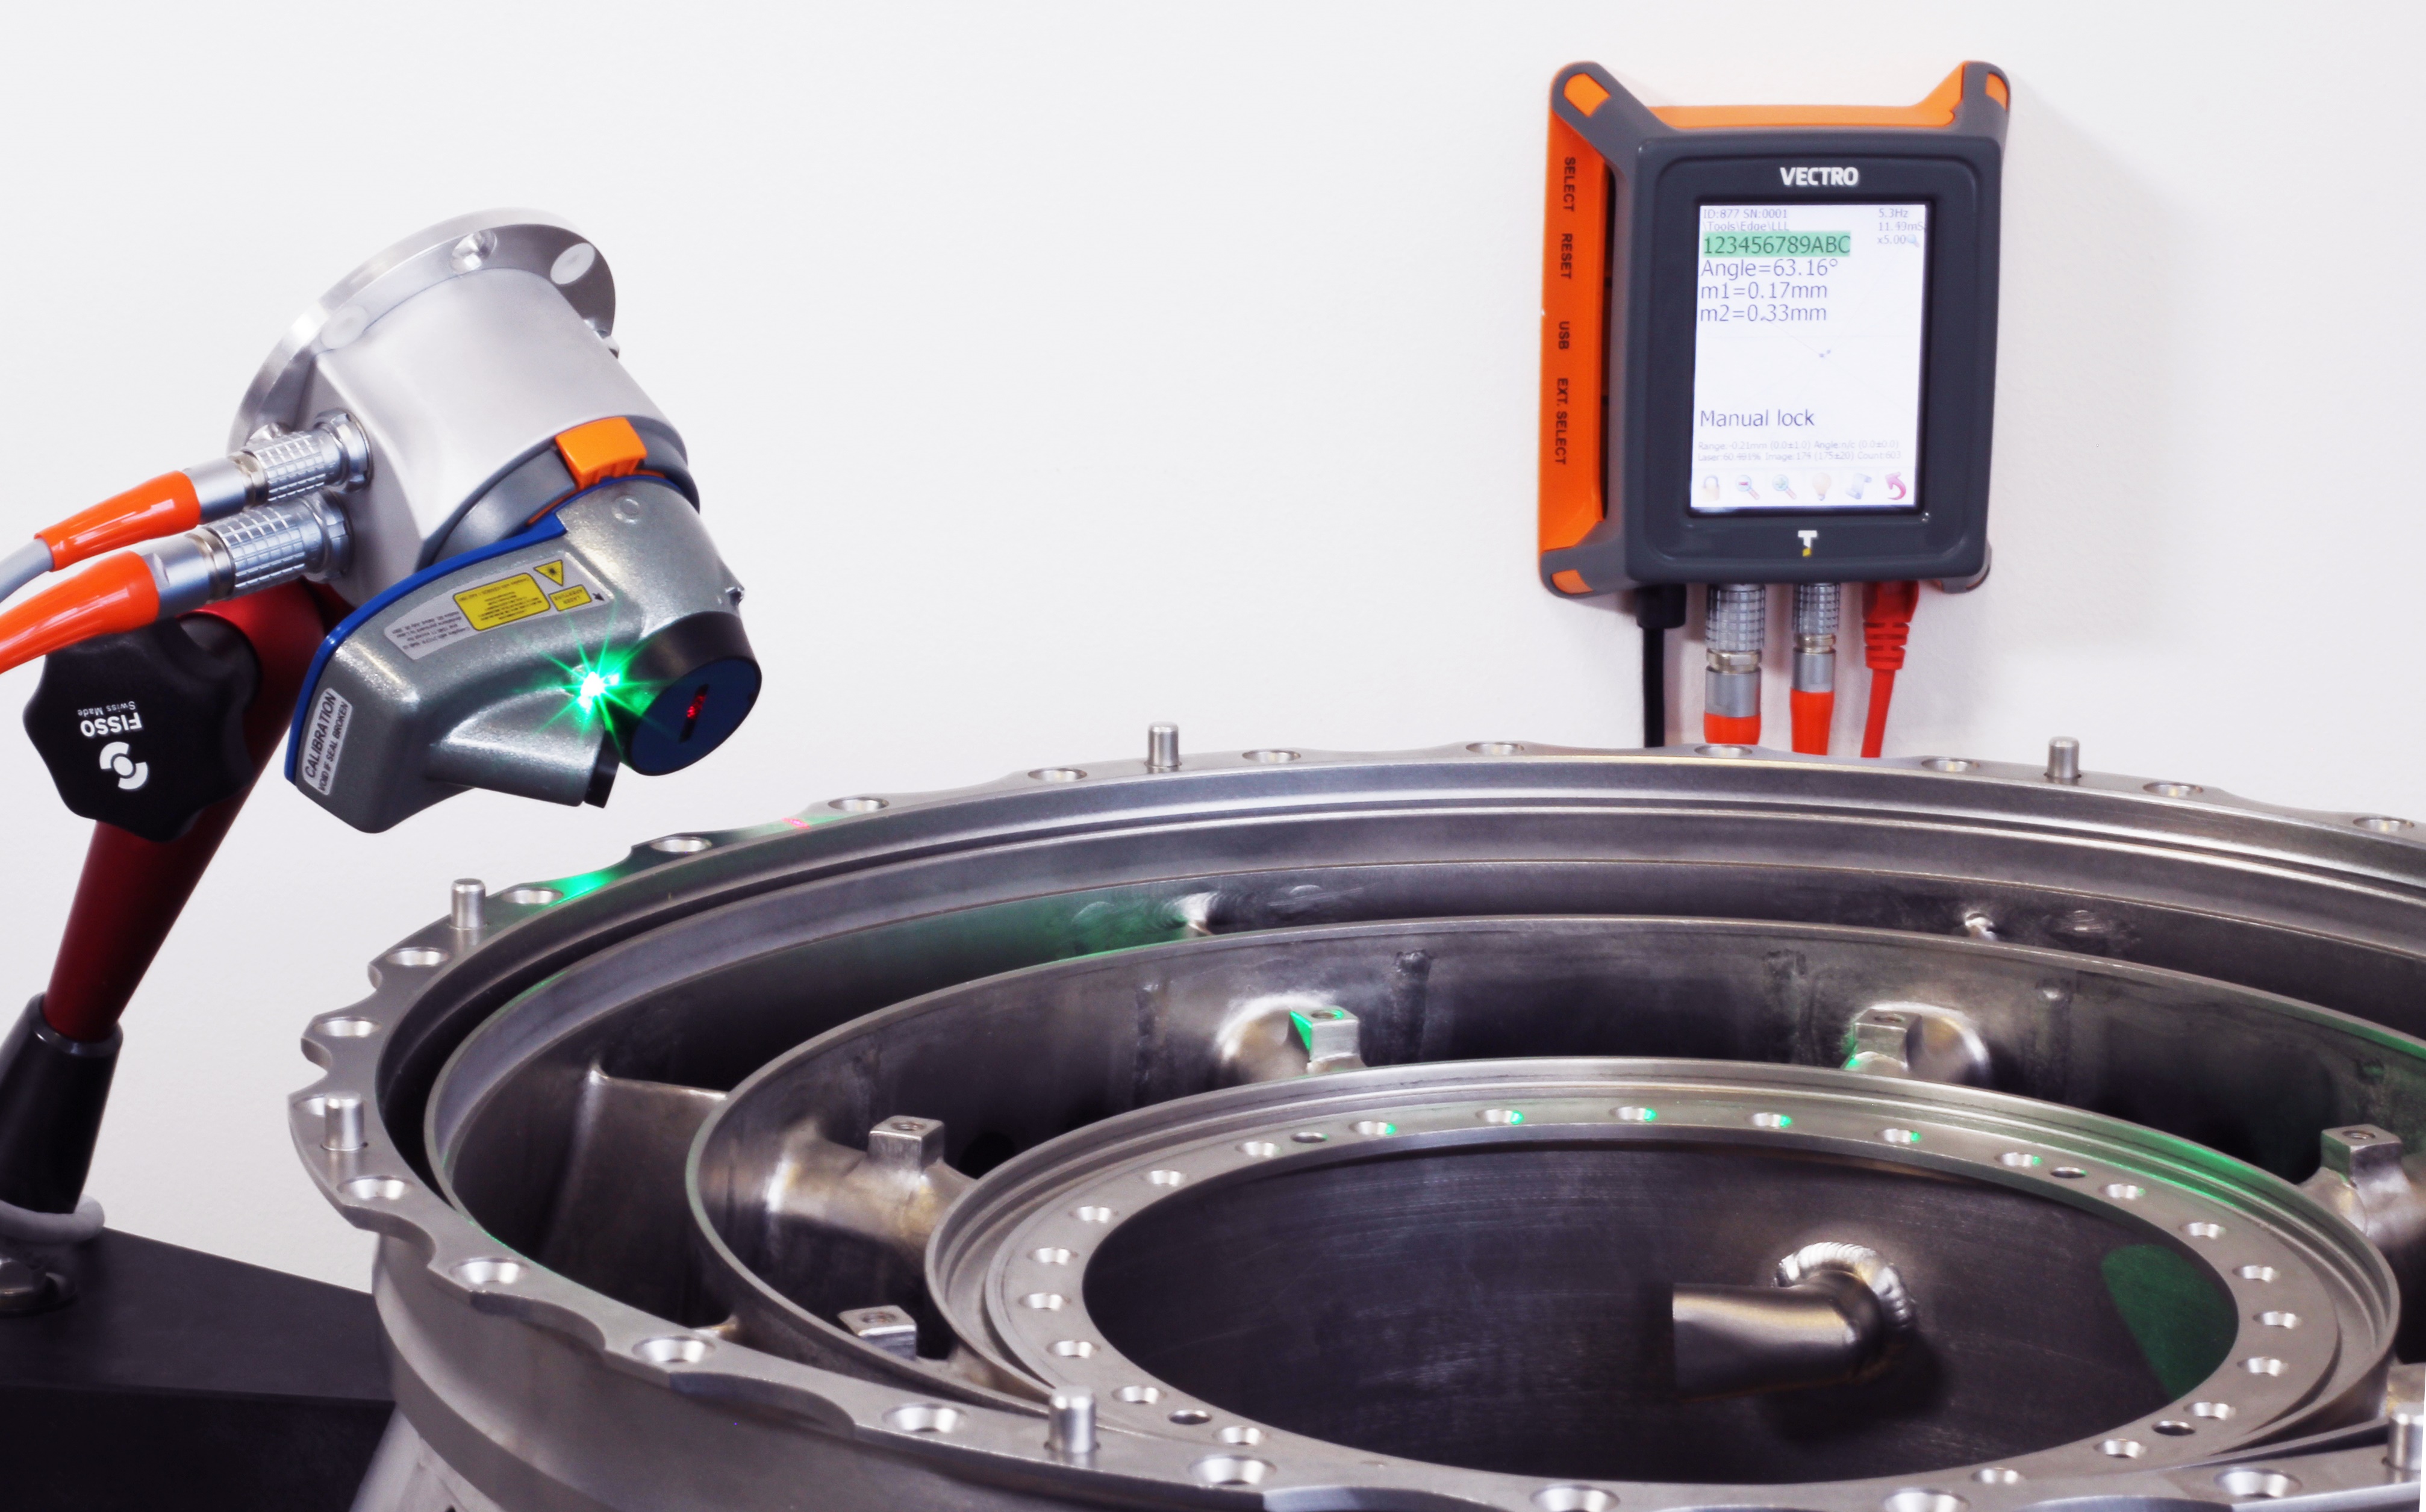
The first is Vectro; a precision automated laser measurement system and the second, Inspect; a quick and easy-to-use quality inspection software tool.
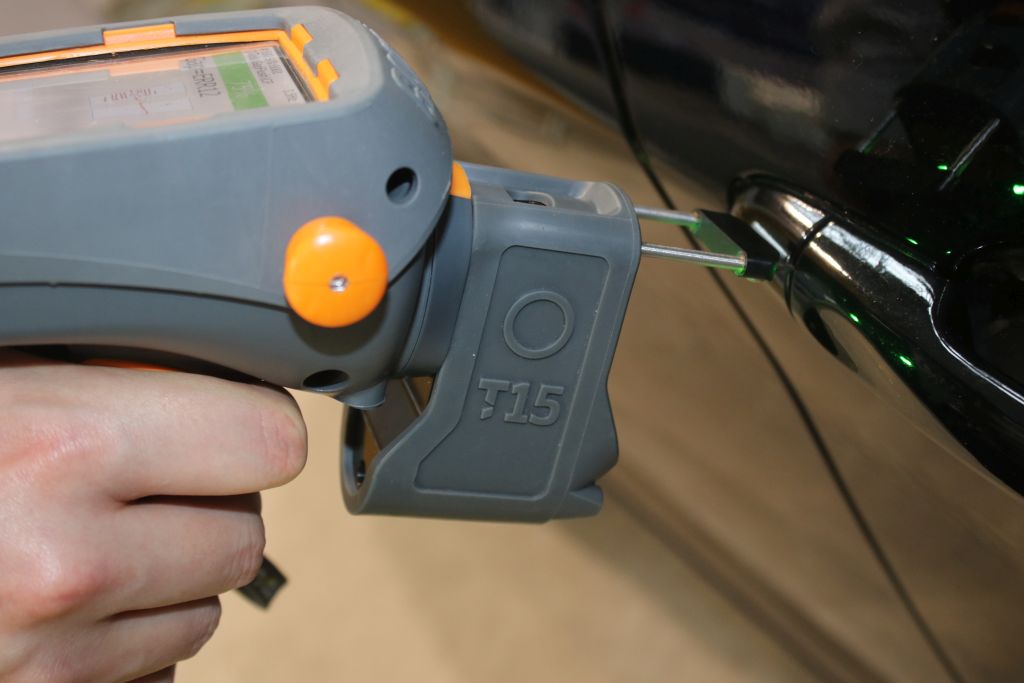
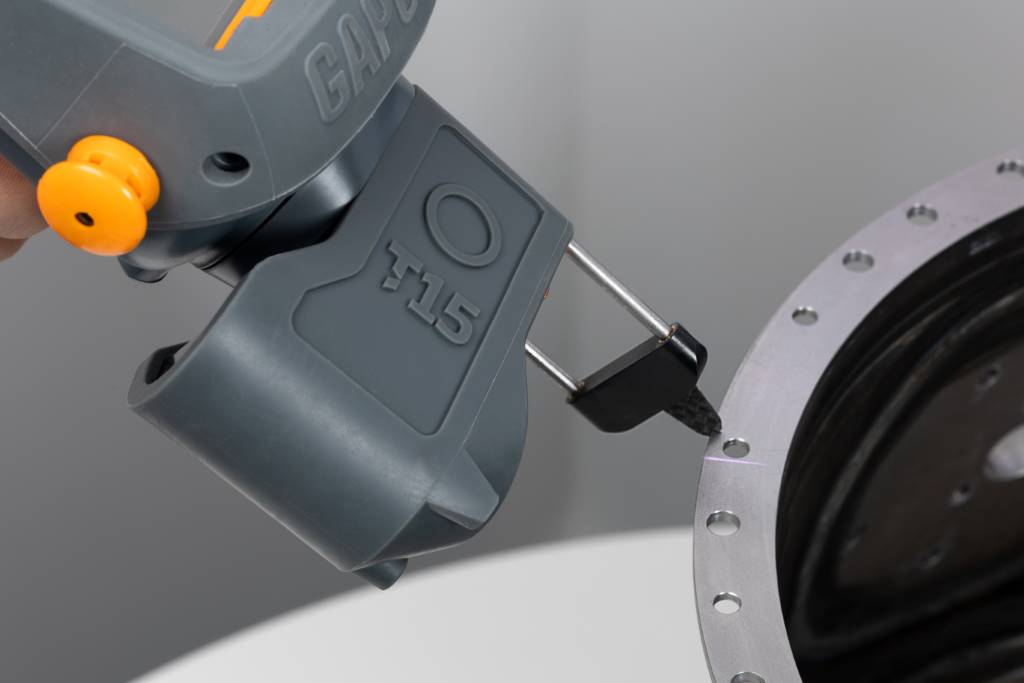
Vectro automates the advanced capabilities of Third Dimension’s best-selling feature measurement system, GapGun Pro; used for quality control by the automotive, aerospace and energy industries worldwide.
Vectro enables manufacturers to take a proactive approach to identify defects, correct persistent gap & flush issues or monitor geometric conditions and improve quality.
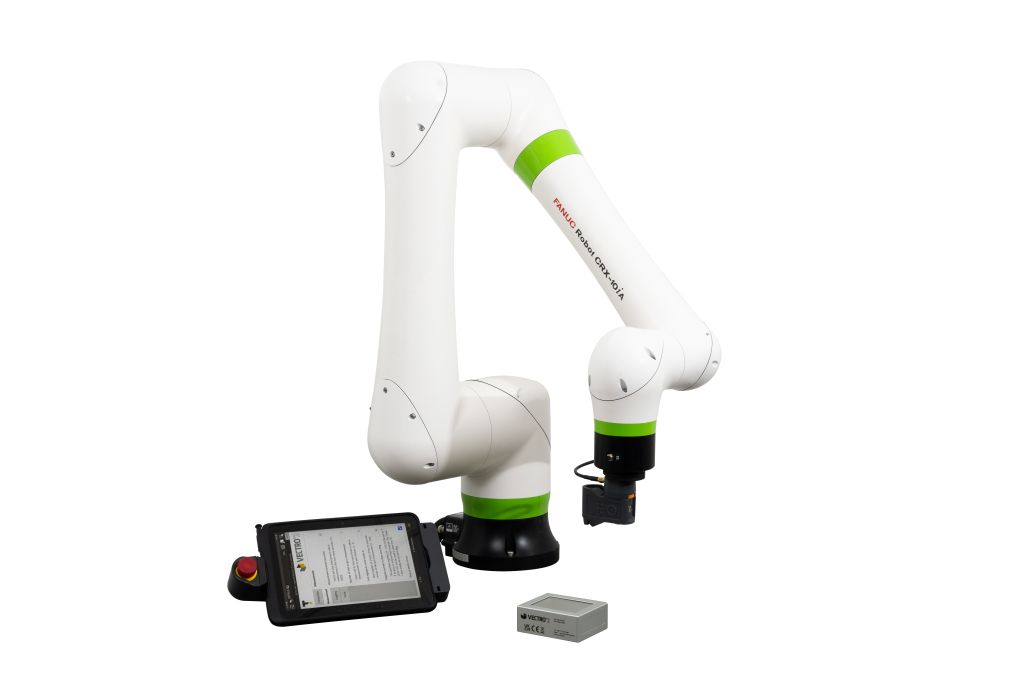
Integration of Vectro for automated quality checking of manufactured goods has a significant impact on reducing the headcount and rework costs, as well as the time and effort involved. Its versatile design makes it physically compatible for automated use, enabling integration either robotically or as a fixtured installation.
Visitors to Third Dimension’s stand will be able to observe two demos using the Vectro system, one integrated robotically to measure a part and the other fixed, measuring a moving part.
In an exciting collaboration with Rotary Precision Instruments, specialist developer and manufacturer of precision positioning devices for high accuracy rotary and angular inspection systems – the fixed Vectro installation demonstration will measuring an engine part on RPI’s new QuadSlimLine 400 – a rotary table specially designed for coordinate measuring machines.
Third Dimension’s second new product on show at Control is Inspect.
Fast and simple to use, Inspect is designed to enable flexible analysis of a component’s profile when used alongside Third Dimension’s GapGun Pro.
To use Inspect, GapGun measures a section of a component and records an image of its profile. This image is then imported into Inspect where the operator can look at specific sections or features of interest. This is done by using simple multi-section drag and drop tools, such as the circle fit or distance tool. The operator can dictate exactly what features they want to measure by clicking, dragging, dropping and fitting these tools on to the profile. Live results appear on screen and the user can do this as many times, and in as many different ways, as required.
Owing to its ease of use, Inspect eliminates the need to carry out tool configuration in SPC3d prior to taking a measurement, thereby reducing operator training time. Tool tips and captions also provide a helpful interface to guide and prompt the operator to maximise the potential benefit of the software.
Visit Third Dimension’s stand 5130 at Control to see Vectro and Inspect in action.
Consider a free digital subscription
If you find this article informative, consider subscribing digitally to Aerospace Manufacturing for free. Keep up to date with the latest industry news in your inbox as well as being the first to receive our magazine in digital form.


