Rapid inspection of gears, turbine blades and other complex parts
14th Jun 2016 | In News | By Michael Tyrrell
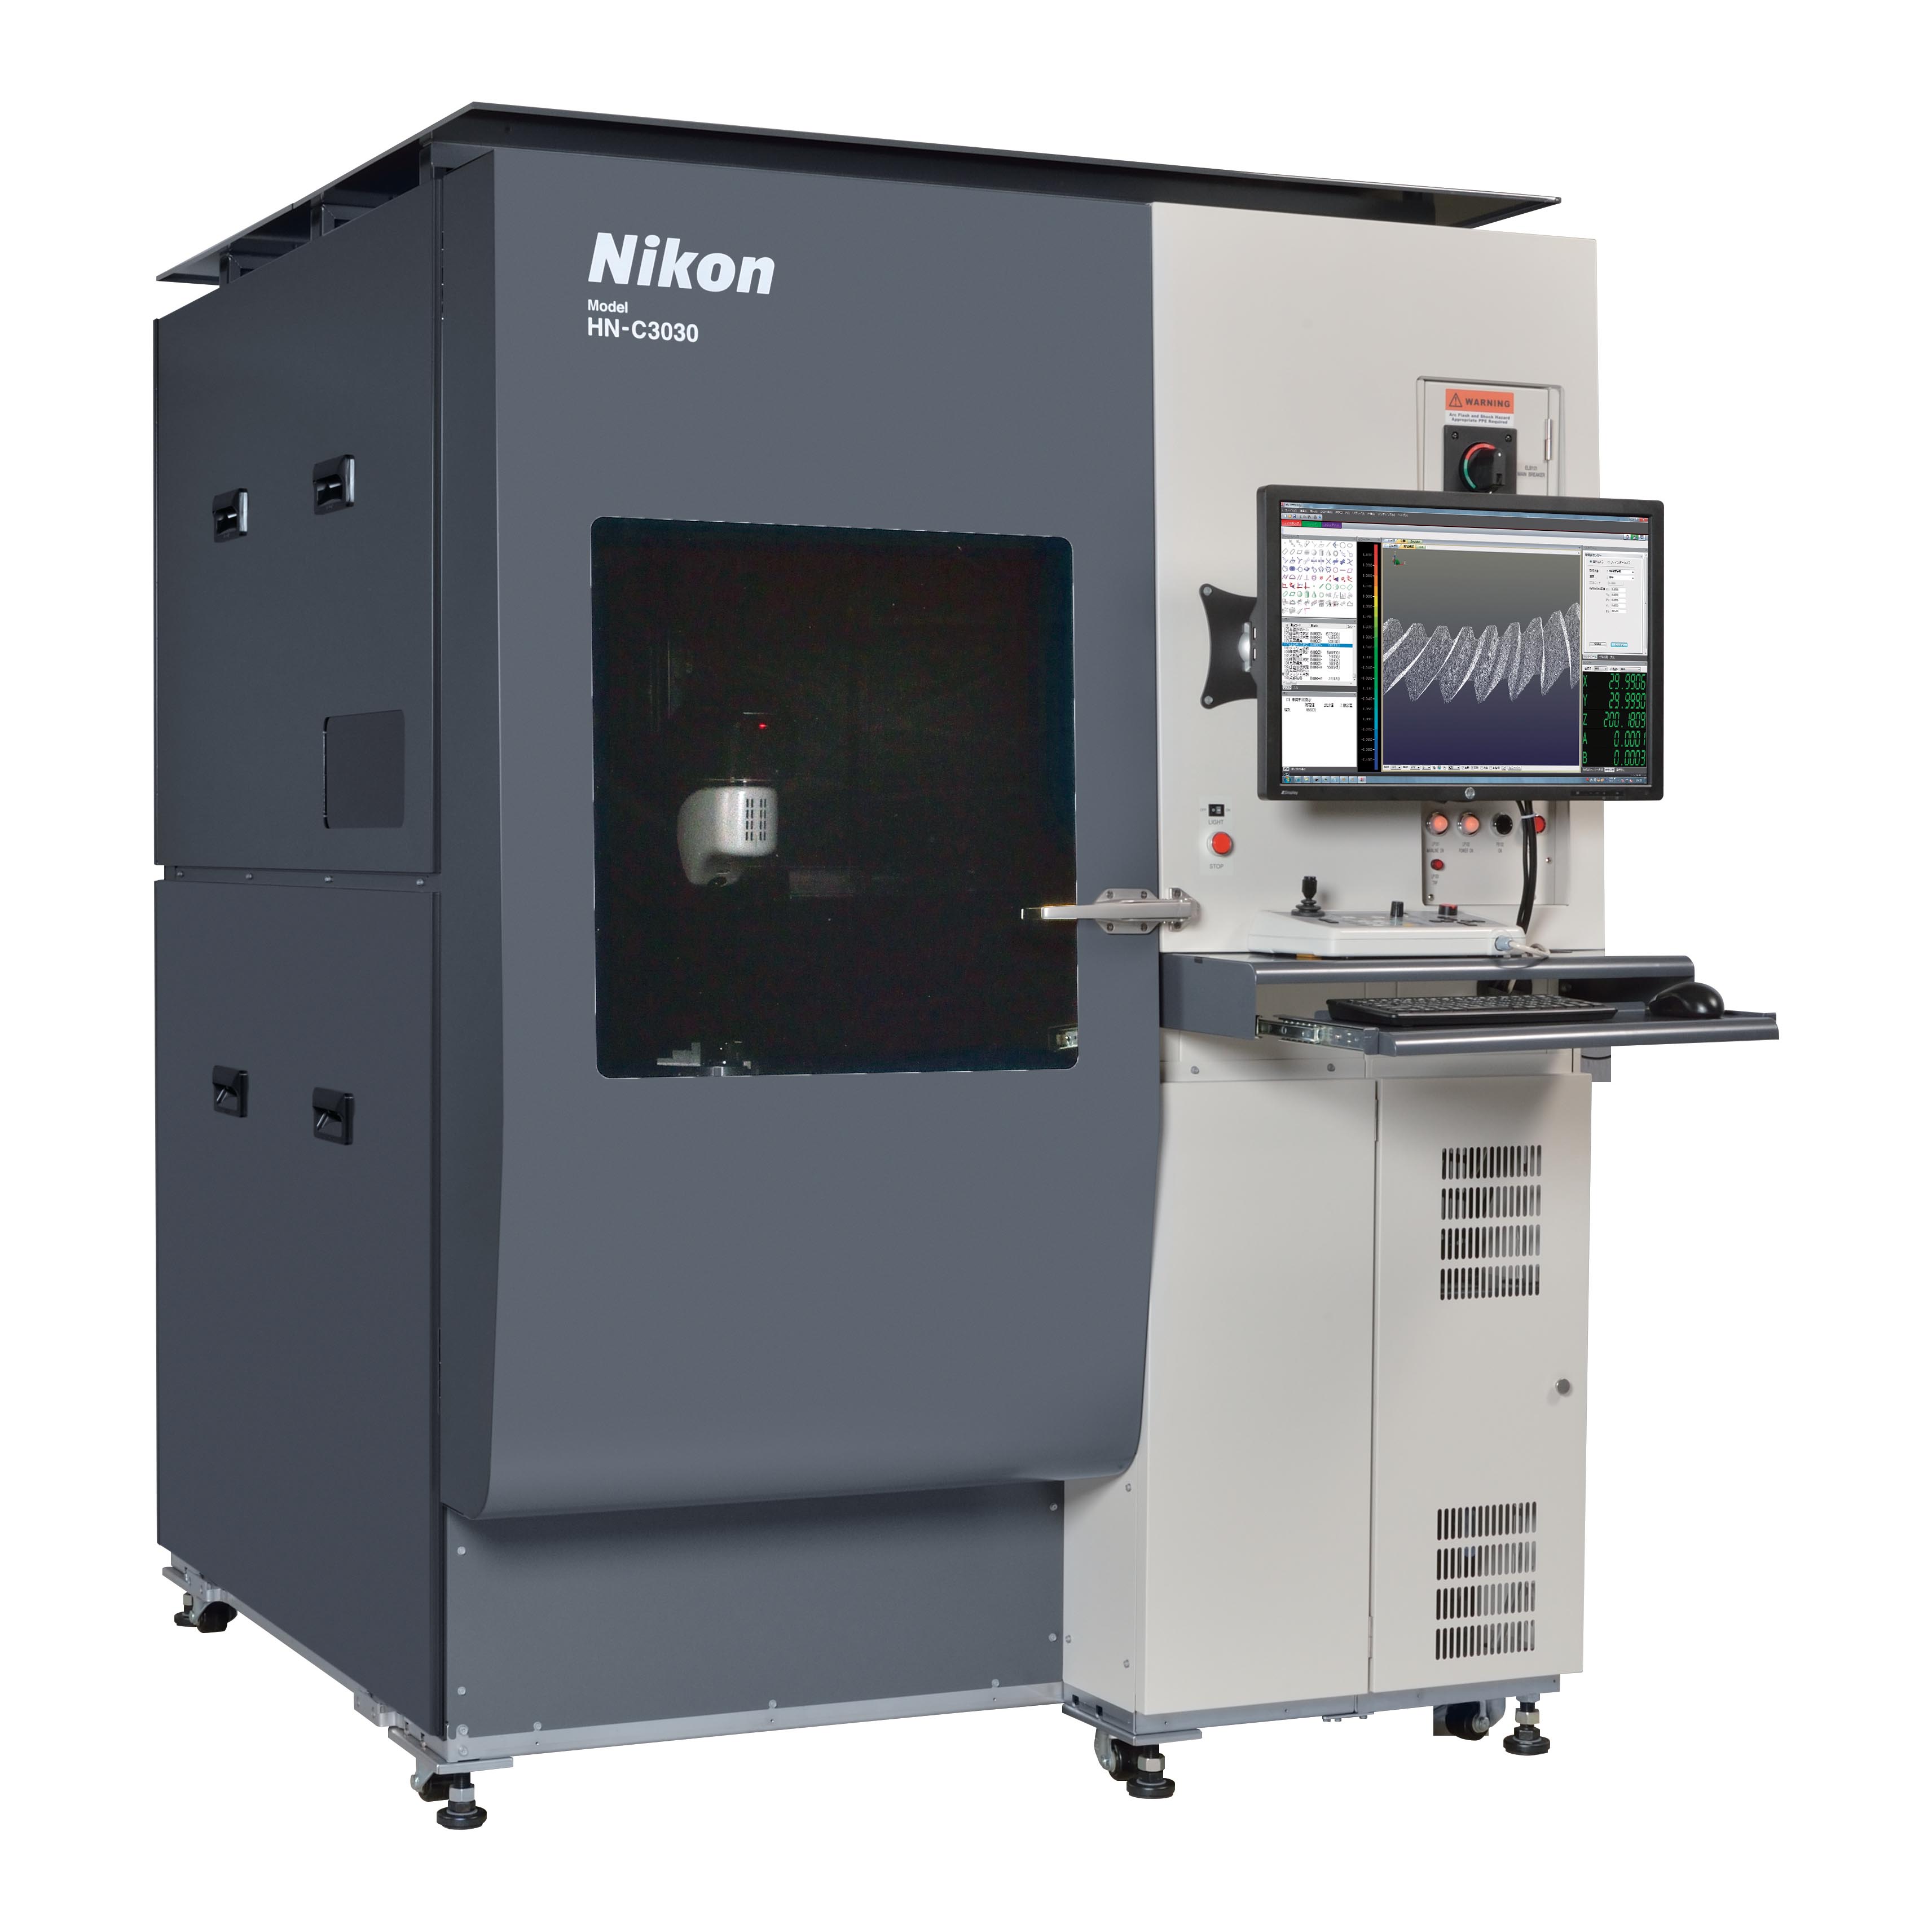
Featuring an advanced laser scanner, the HN-C3030 represents a major step forward in ultra-fast shape evaluation compared with traditional tactile measurement. By scanning a component and comparing it with the original CAD file, users obtain better insights into product conformity, resulting in faster problem-solving and earlier time-to-market.
As components have become ever more complex, the demand for rapid, accurate measurement has increased. To achieve high precision, Nikon has developed special optics for the laser scanner that even enables inspection of glossy or dark surfaces without manual preparation like powder spraying.
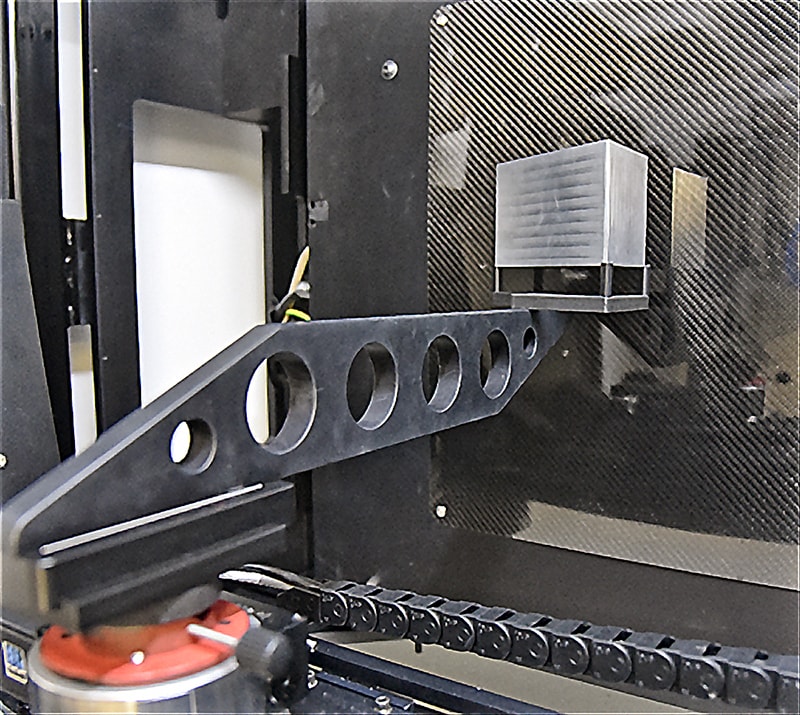
Synchronised, 5-axis positioning is an important element. The compact HN-C3030 controls a high-precision 3-axis drive system as well as a 360° rotary stage and a -20 to +135° laser scanner swing arm. It enables wide areas covering the top and sides and even the bottom surface of parts to be scanned. In addition, the direction of the laser scanner can be rotated between -180 and +180°, allowing scanning of shapes from optimum angles.
The system is capable of inspecting all toothed surfaces on a single automotive bevel gear in five minutes, for example, acquiring surface point clouds at a rate of 120,000 points per second. This is a large multiple of the number of points that can be measured by tactile inspection. The result is a full 3D scan of the part, whereas tactile scanning acquires only individual points or lines. A detailed, 3D digital copy gives not only full shape or section information, but also deep insight into surface profile and tooth wear that are hardly detectable by tactile measurement.
The software features acquisition and analysis tools for optimum scanning of various sizes, shapes and surface conditions. Comparison of point clouds to the original CAD file provides colourful, easy-to-interpret 3D deviation reports. For more advanced inspection, dedicated gear software enables easy creation of teaching files and tooth analysis in the same format as with conventional contact measurement systems.
The HN-C3030 excels when measuring highly detailed, complex gears such as hypoid, bevel and helical up to a maximum of 300mm diameter by 300mm deep. The system is not restricted to use inside temperature controlled rooms. When equipped with an optional thermal regulator, it can also be used on the shop floor and in other production environments.
Consider a free digital subscription
If you find this article informative, consider subscribing digitally to Aerospace Manufacturing for free. Keep up to date with the latest industry news in your inbox as well as being the first to receive our magazine in digital form.


