Error proofing aerospace production
21st Sep 2020 | In News | By Mike Richardson

Striking the right balance between cost and quality is an ongoing challenge for every manufacturer, regardless of scale or complexity of products. Error-proofing the production process, at a time where global aircraft production has in general more than doubled in twenty years, is a critical factor in being able to deliver the required levels of quality and conformity both consistently and profitably.
Quality in the assembly process relates to every aspect of production. Regardless of the specific focus involved, ensuring quality relies on knowing who did what, when and how. At the core of this is data, which is the key ingredient feeding the rapid digitisation of manufacturing and assembly in a trend referred to as Industry 4.0 or Smart Factories.
For Atlas Copco Tools and Industrial Assembly Solutions, this concept is called ‘Smart Connected Assembly’ whereby advanced industrial software is combined with state-of-the-art tooling. Smart Connected Assembly (SCA) delivers a fully integrated solution for managing critical drilling, material removal, bonding, riveting and tightening processes within aerospace manufacturing, enabling quality control to be monitored continuously.

Every plant manager knows the costs associated with human error, so transparency and real-time data analysis can significantly help reduce these costs. One single part can have a high cost and every repair, however minor, lowers the market value of the aircraft. Not to mention costs from production delays and fines for missing customer deadlines.
Seven steps to securing quality
Assembly quality is affected by several factors, so as part of its SCA philosophy, Atlas Copco has developed seven steps for manufacturers. These build on one another in order to manage increasing demands for traceability and control in production, providing a scalable approach to error-proofing every aspect of assembly.
Joint classification is at the foundation of the seven steps and clarifies the requirements for each application. It’s crucial to understand what influences torque to ensure the joint design is correct for the application. Too little clamping force results in joint failure through relaxation or loosening, while too much force may result in sheared bolts. As a result, a number of factors must be considered when designing a joint, including the joined materials, lubrication, bolt length and diameter and the thread pitch.
The next step is ensuring the use of a correct ‘shut-off’ tool that stops when it has reached a precise and predetermined torque. This eliminates fastening failures due to under or over-torqueing. These tools are suitable for Class C bolts where the minimum demand from tightening equipment is one actuating variable (torque). However, these tools are not suitable for Class A or B fixings as they don’t record a monitoring variable (angle).
The use of joint control and angle monitoring (measuring the degrees of revolution of the bolt head) enables detection of missing washers, wrong components, untightened fixings or even attempted tightening of completed joints, known as ‘re-hits’.
Class A safety-critical tightening is one where if the bolt fails it can result in danger to life. As a result, Class A fixings require advanced and calibrated industrial tools to prove that critical bolts are tightened correctly.
The next step to zero-fault production is to design processes in such a way as to prevent errors occurring, or to secure an error once detected and correct it at the source.
SCA controls the assembly process via barcode scanning or sending data or PLC signals to inform the tool controller which product is in the workstation and the corresponding assembly process to be followed. This provides several benefits: Firstly, it eliminates errors due to incorrect program selection. Secondly, it allows variant-specific programmes to be configured, enabling the same tool to be utilised for multiple product variants and assembly processes, saving money and space on the production line. And finally, it enables the tool to report results against a unique product ID for traceability and analysis.

The reject management & part control step involves the use of systems to control the process, broaden the elements of quality that are controlled and manage rework in a traceable manner. These technologies include Operator Guidance and Part Verification. For example, scanners for part verification ensure a lock-out of the assembly process until the correct part is scanned, to minimise error. This requires that parts are labelled with 1D or 2D barcode labels or similar machine-readable markings that allow a software module to identify the part being installed. In cases where parts are serialised, the unique identifier can be stored for traceability purposes.
Step six concerns secure process capability. The correct maintenance and auditing of tools is crucial to ensuring quality. Manufacturers must routinely check their tools to ensure they are operating accurately and within defined limits. Such checks will detect when a tool is going out of calibration. Correctly calibrated tooling also facilitates faster diagnoses of any other issues affecting quality.
The final step is the utilisation of data for continuous improvement. Software is a tool in itself, for tracking and analysing the assembly line, enabling real-time analytics into the performance of tools and processes. These applications support root-cause analysis of defects, feeding continuous improvement initiatives that improve efficiency and increase profitability.
The Mechatronic system
Achieving error-free production is a major objective of Atlas Copco Tools and its Mechatronic system gets manufacturers closer to this goal. As well as providing the same reliability, performance and ease of use from its standard mechanical wrenches, the addition of monitoring hardware and software offers significant value to the whole production process by ensuring greater accuracy, traceability and quality assurance, all in one package.
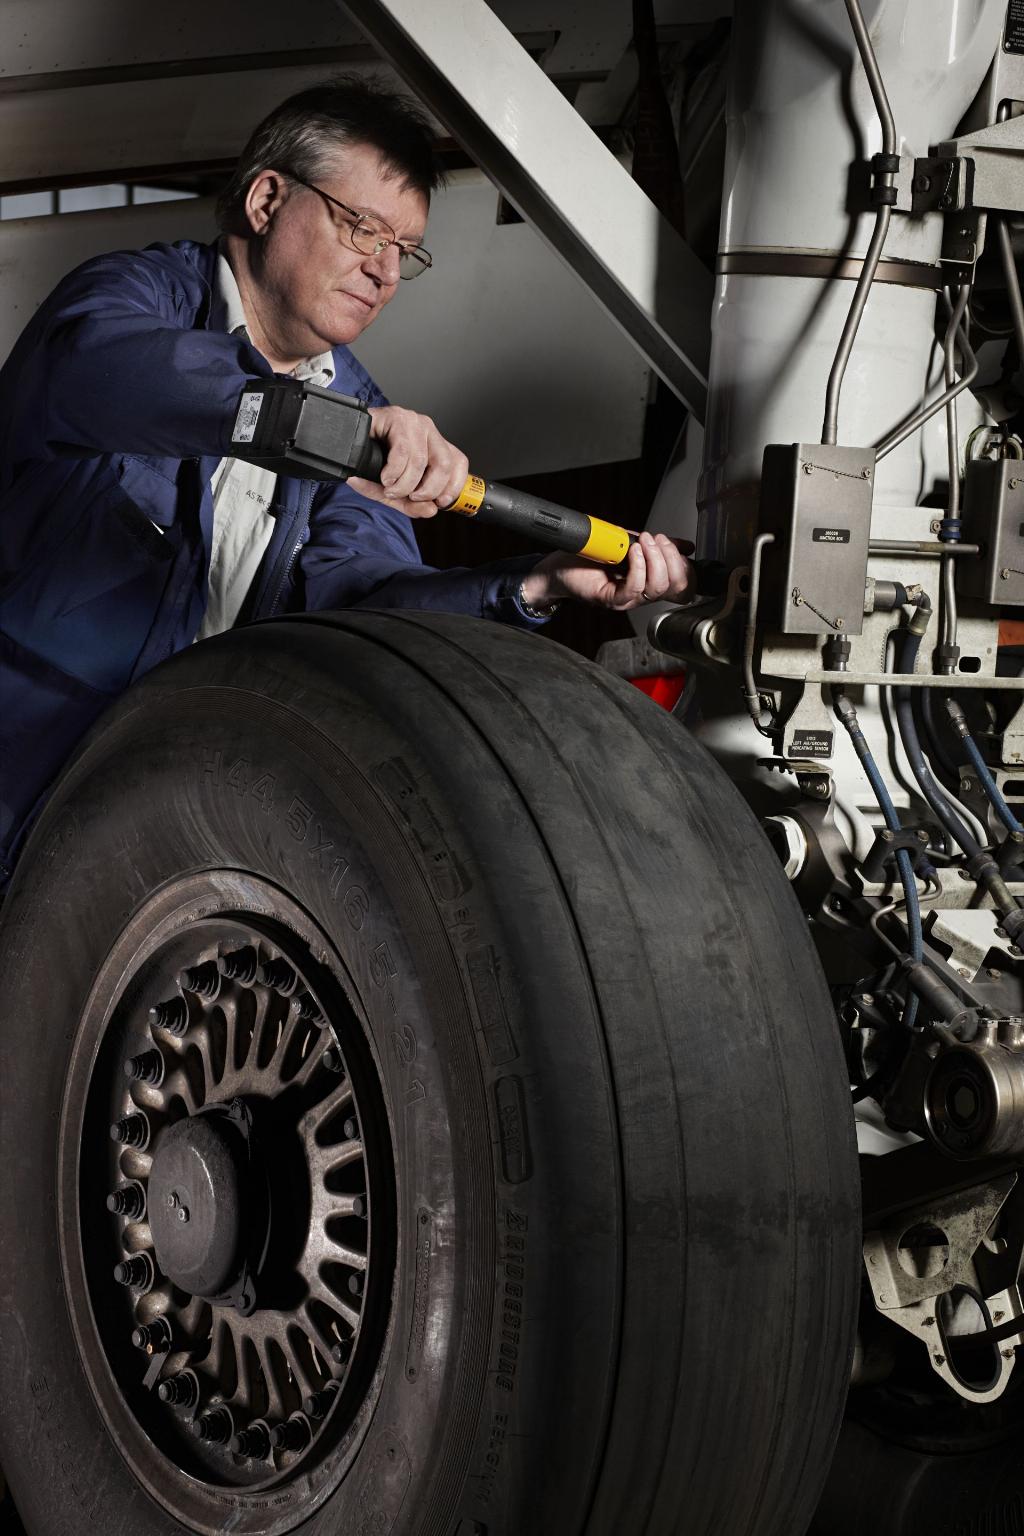
Whilst still used as a standard mechanical wrench, the Mechatronic system (MWR) adds a digital interface, effectively building in a quality assurance process to the actual tool. MWR enables the wrench to monitor three critical areas: the correct angle has been achieved; the right torque has been applied; the operator has released the joint at the optimum time. The Mechatronic system gives the operator an LED green light indication when the required torque is achieved. Sending the tightening data wirelessly to the complementary controller means that any faults can be identified instantly and rectified before they become a costly production issue. Everything is audited and traceable down to a single screw. It can also be used to verify that all required elements of a joint are present and correct.

Mechatronic uses a gyro signal to measure operator movement, thereby increasing the accuracy of angle readings and improving controlled tightening. By narrowing down the angle window, the most common assembly problems such as damaged threads, re-hits, premature shut-offs and torque overshoot can be avoided, thereby improving productivity and quality.
Flexibility is obviously a key consideration for many manufacturers, where there are multiple assembly lines. Mechatronic facilitates a wireless connection of up to 10 wrenches to the Focus 61 controller, as well as programmable jobs and two wrenches in simultaneous operation.
Commenting on the many advantages of Mechatronic, James McAllister, general manager, Atlas Copco Tools says: “Our ultimate goal is zero defects in the manufacturing process with 100% traceability. With increasing complexity of products and demand for higher quality at the lowest cost, in the quickest time, manufacturers are under pressure to minimise any negative impact on production.
“Atlas Copco’s Smart Connected Assembly philosophy is focused on achieving quality, productivity and traceability in all assembly processes and as part of that, our Mechatronic system is designed to maximise productivity and increase customer efficiency, whilst eliminating human error and ensuring operator safety.”
Consider a free digital subscription
If you find this article informative, consider subscribing digitally to Aerospace Manufacturing for free. Keep up to date with the latest industry news in your inbox as well as being the first to receive our magazine in digital form.


